
DIY WEDDING HAIR ACCESSORIES

You guys may be wondering why our hair looks SO luscious and long today… WELL, it’s because we had the pleasure of working with our fellow Canadian YouTuber Niki Sky! We got to try out her incredible Fancy Hair hair extensions, as well as try out some bridal hairstyles over on her channel!
On our channel, we made some gorgeous wedding hair accessories that you’ll get to learn how to make right here!
Difficulty: ✂
Cost: $10-20
Materials:
Veil
Tulle (2 Meters, or however long you would like your veil to be)
Floral Headband
Rope or Cord (One lighter coloured and one darker)
Gold Head Chain
Tools:
Veil
Needle and thread
Scissors
Hot Glue/Hot Glue Gun
Floral Headband
Scissors
Wire Cutters
Hot Glue/Hot Glue Gun
Gold Head Chain
Exacto Knife
Tin Foil
Baking Sheet
Hot Glue/Hot Glue Gun

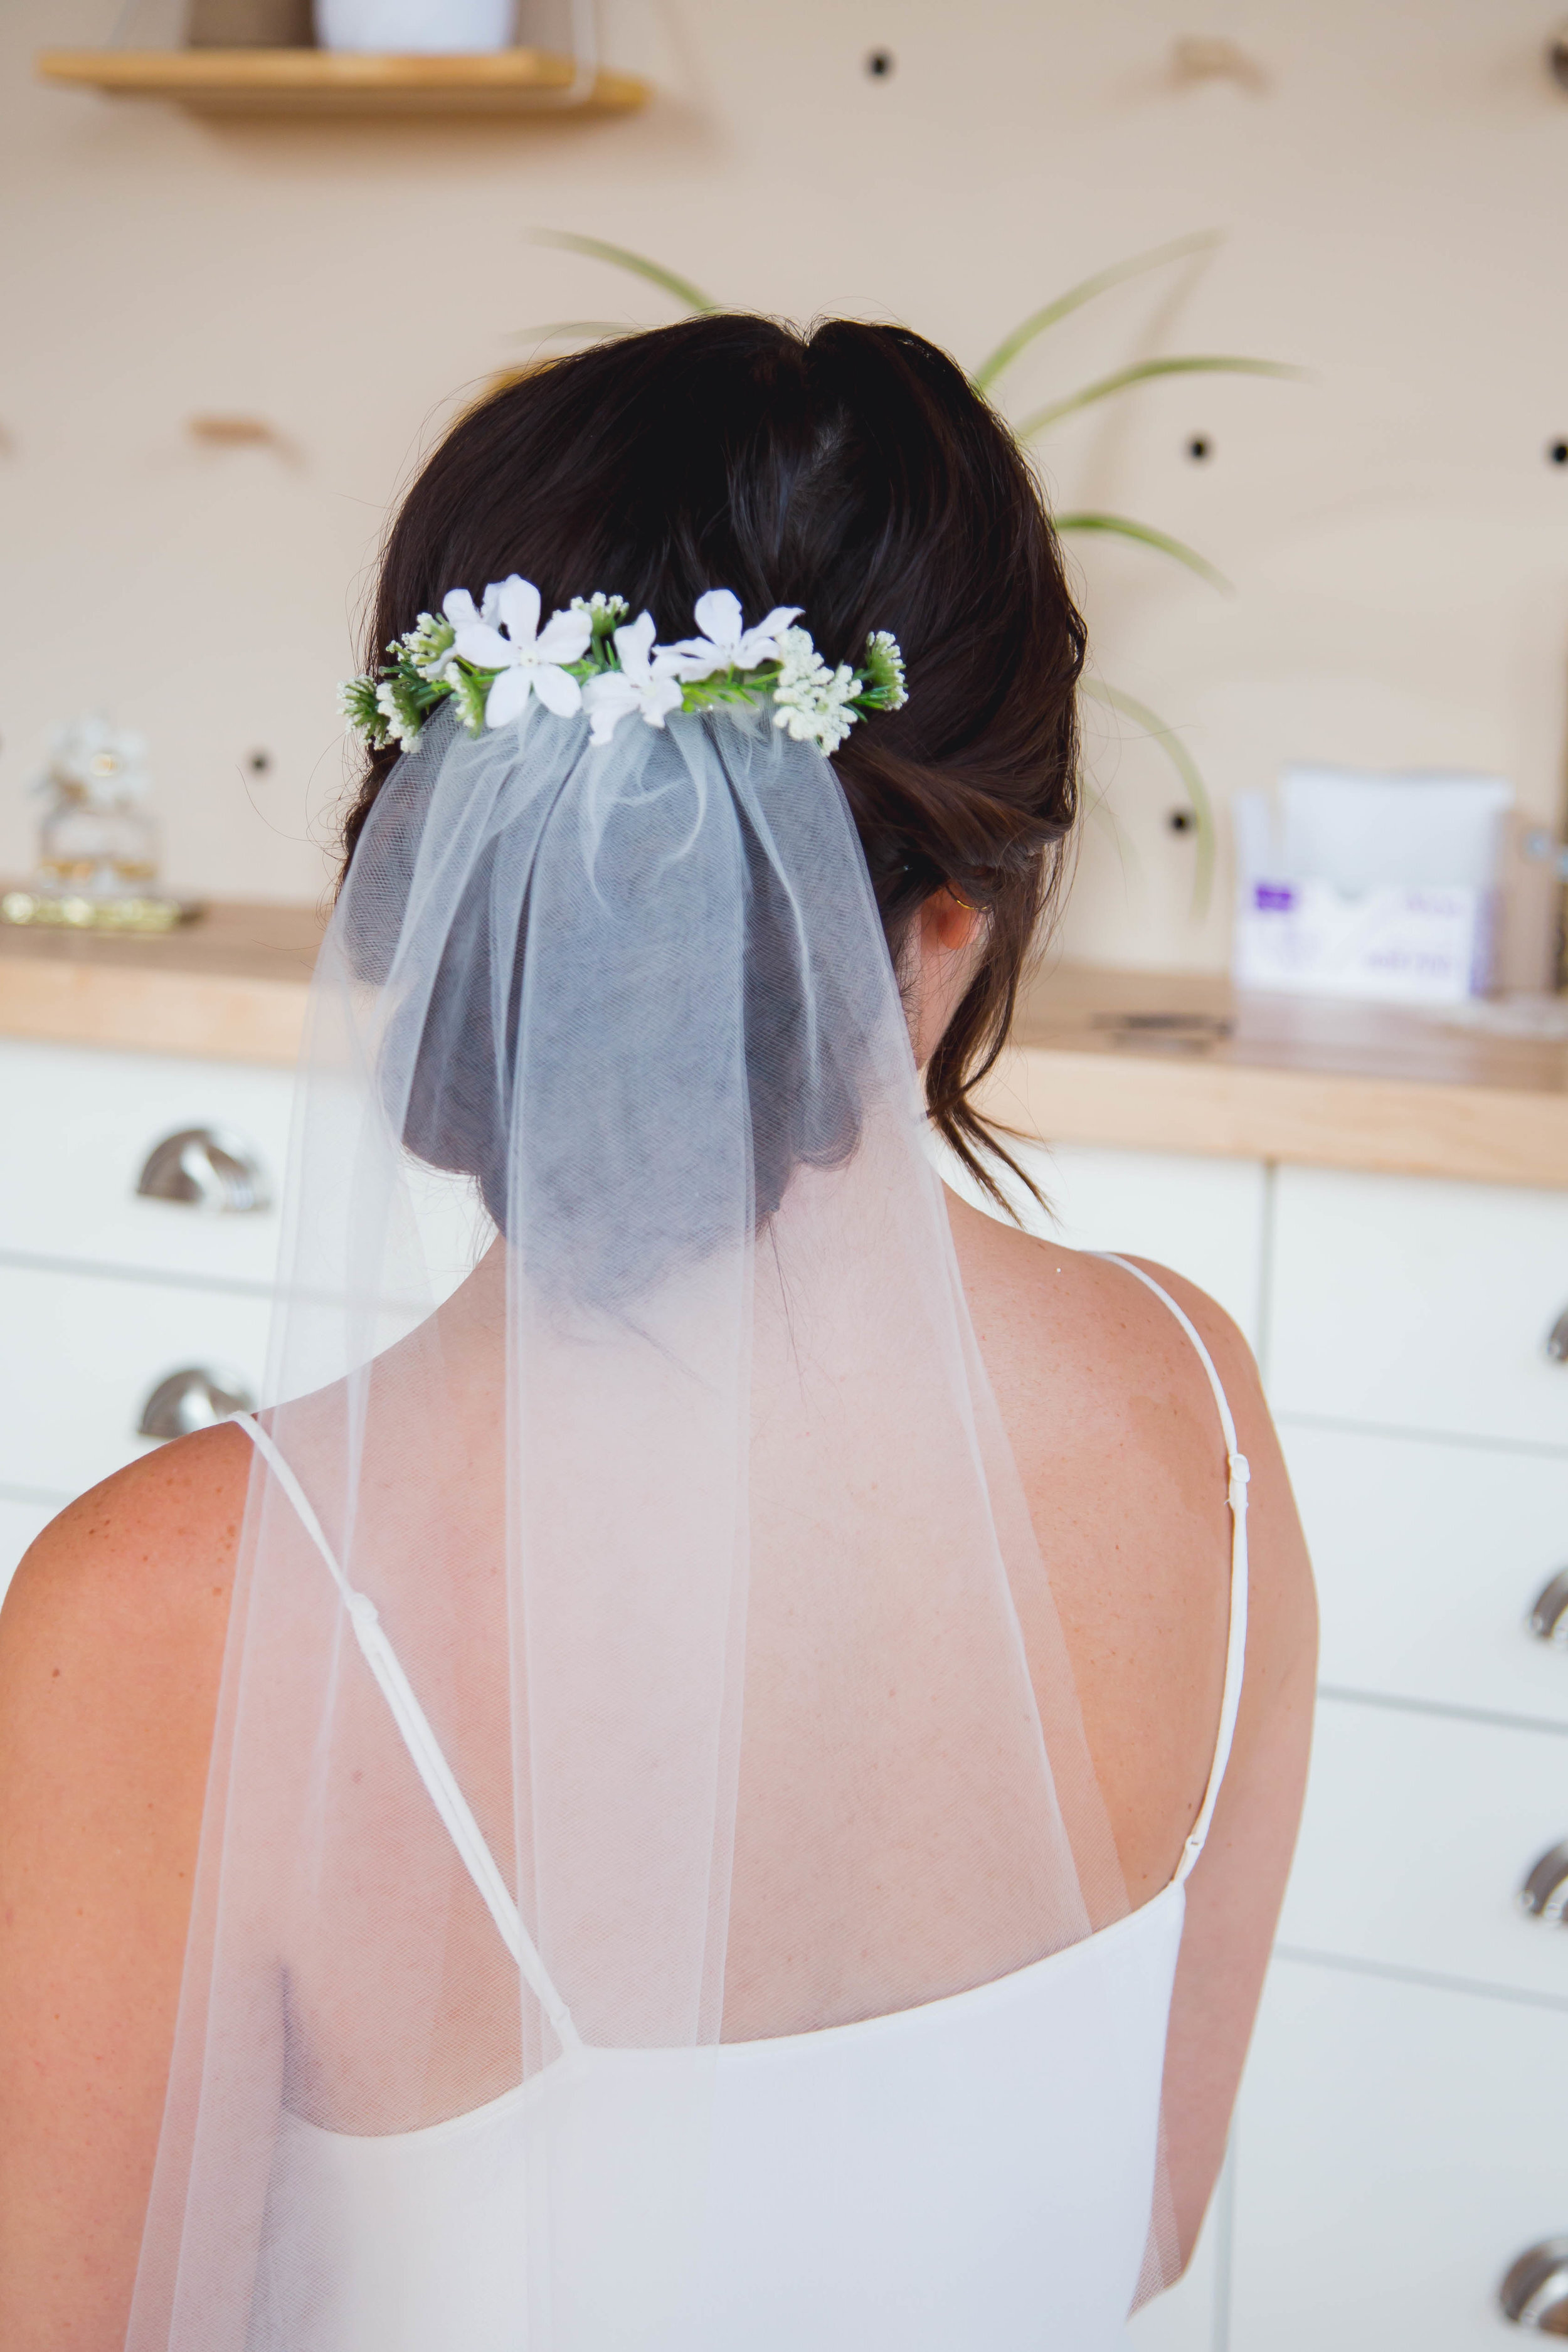
Kelsey’s Bridal Veil
The first accessory we are going to make is this super easy clip in veil! Gather some faux flowers, a hair clip, and about 2 meters of tulle (or however long you’d like your veil to be).

With the tulle folded in half, lay it out flat on a table and with a needle and thread, and sew long loose stitches down the side. Pull the string tight to gather the tulle together and then knot the string. Try to make this gathering about as wide as your hair clip. Cut off any extra tulle
you don’t need. Hot glue the gathered end of the tulle to the hair clip. Now, you can add your faux flowers or any other decorative elements you want! We placed our flowers in a symmetrical pattern spreading from the centre outwards. With a gold paint pen, we dotted on some accents to our flowers to make them a little fancier.
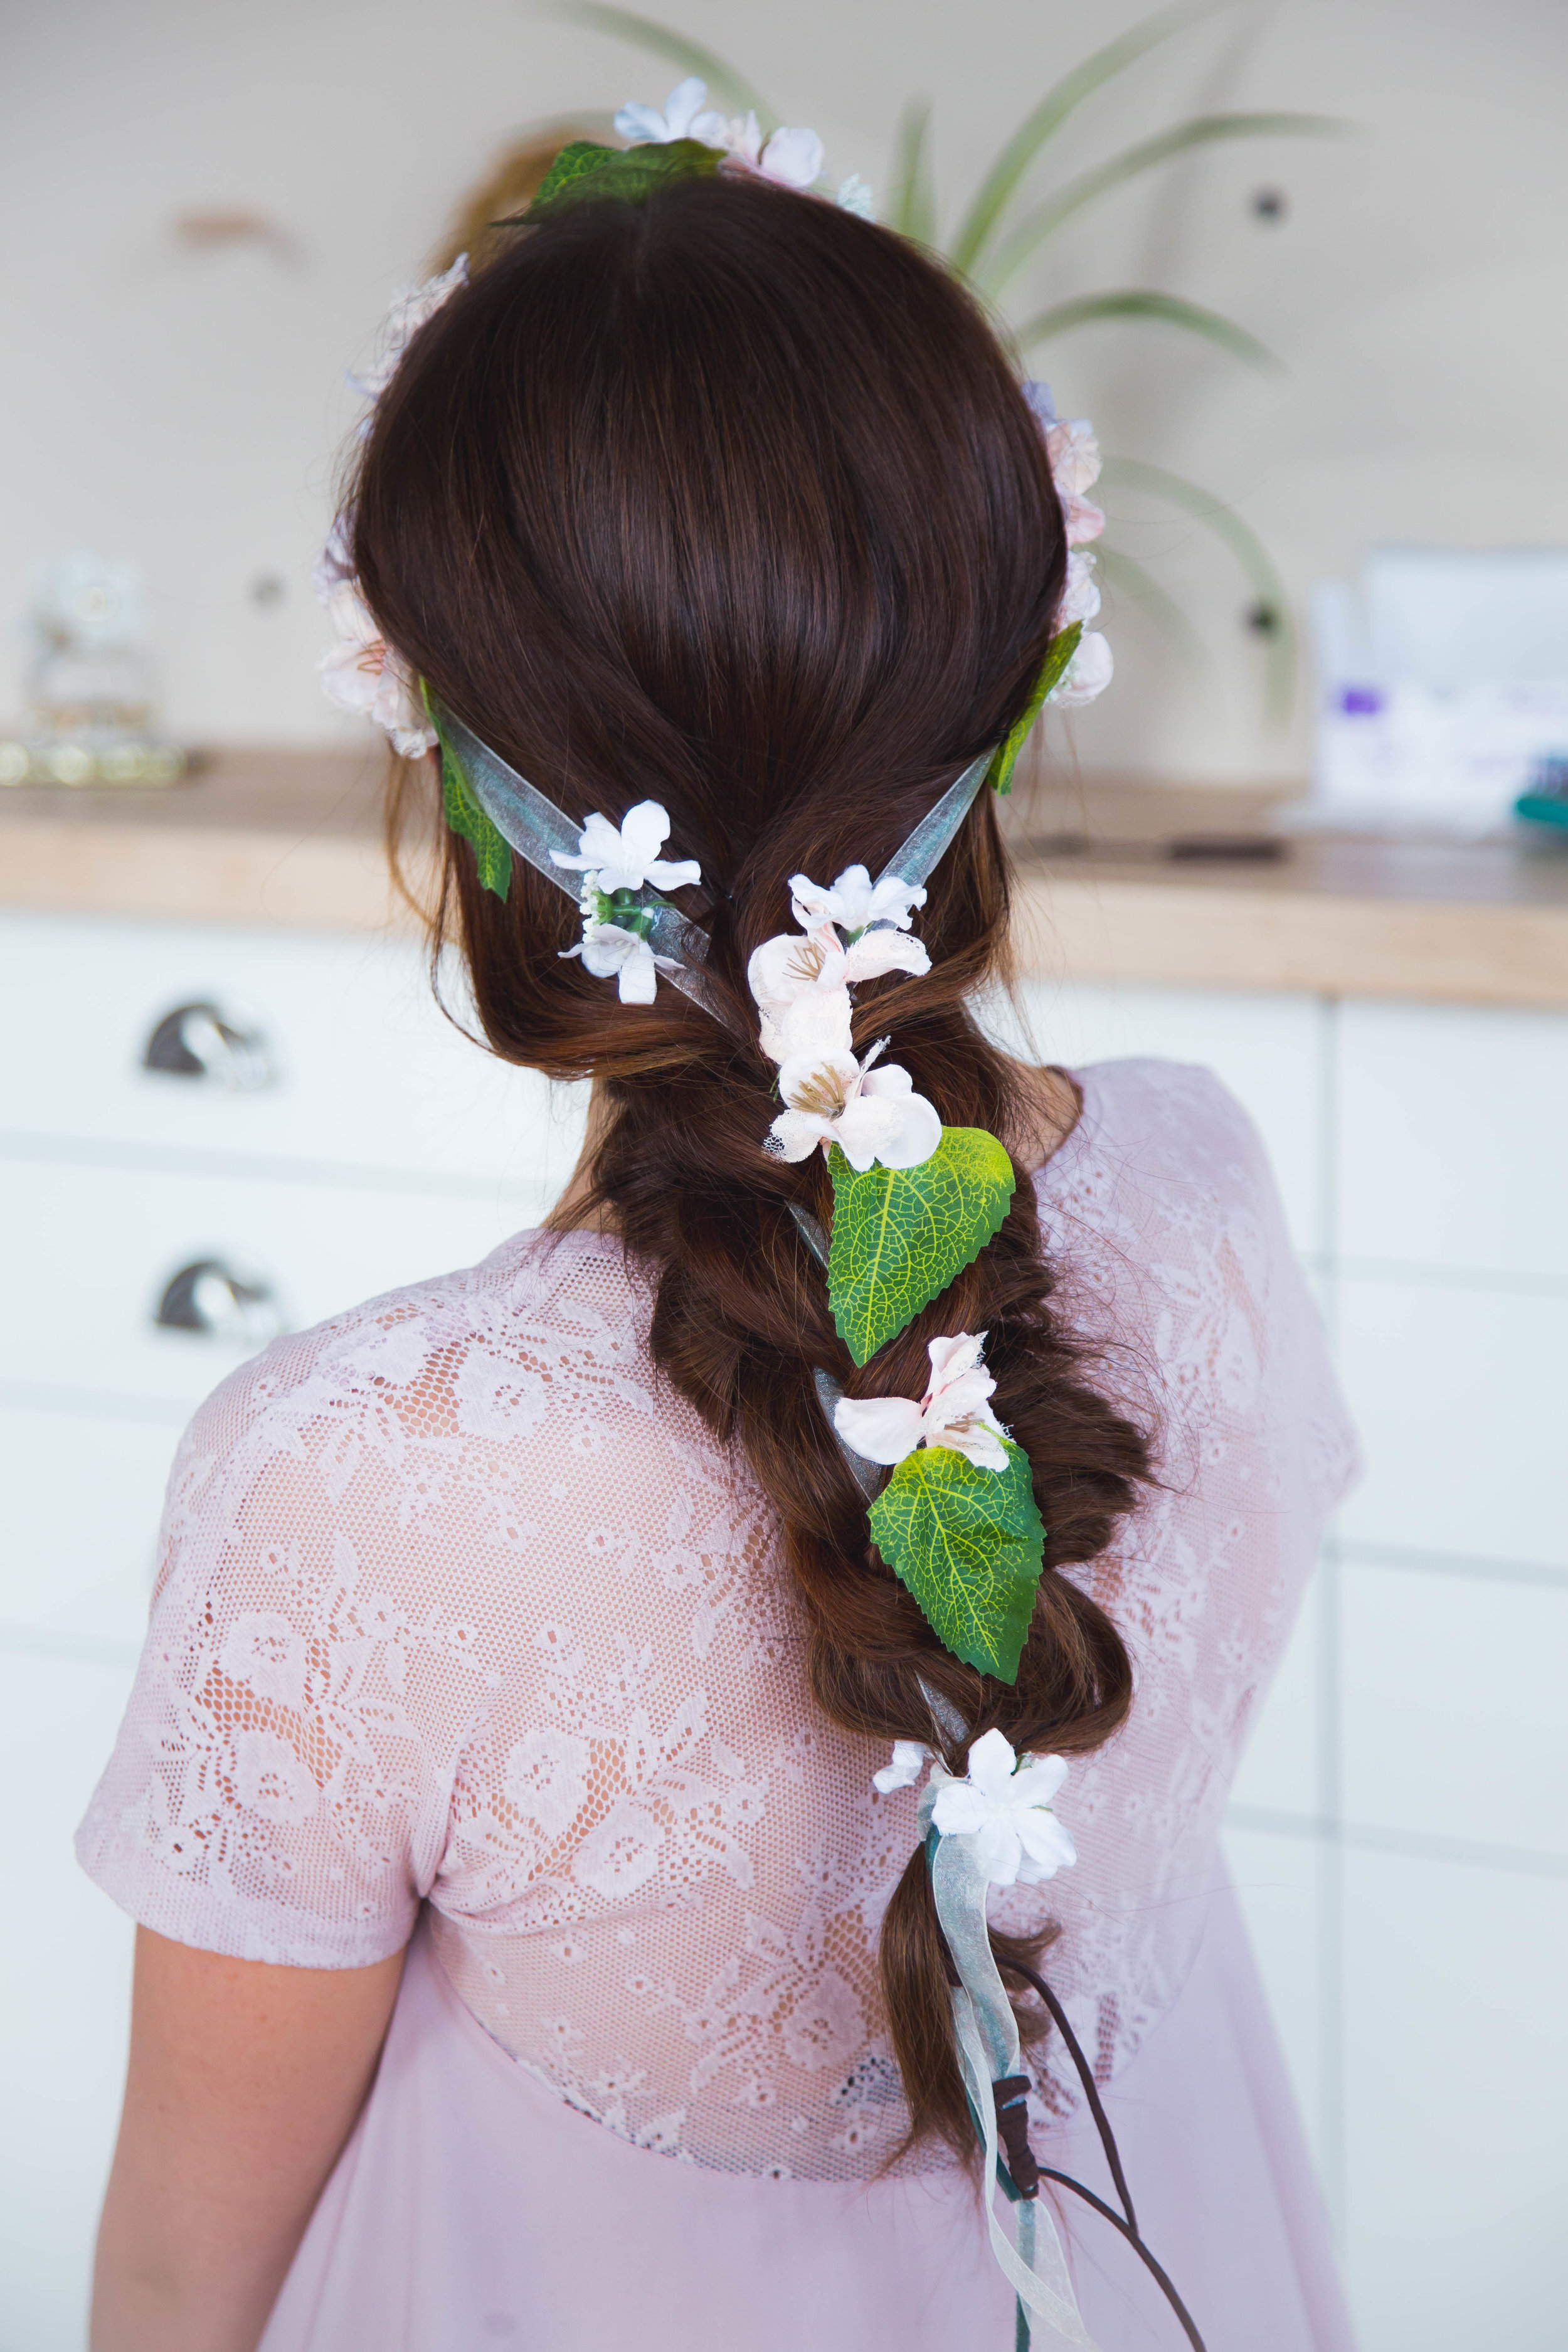
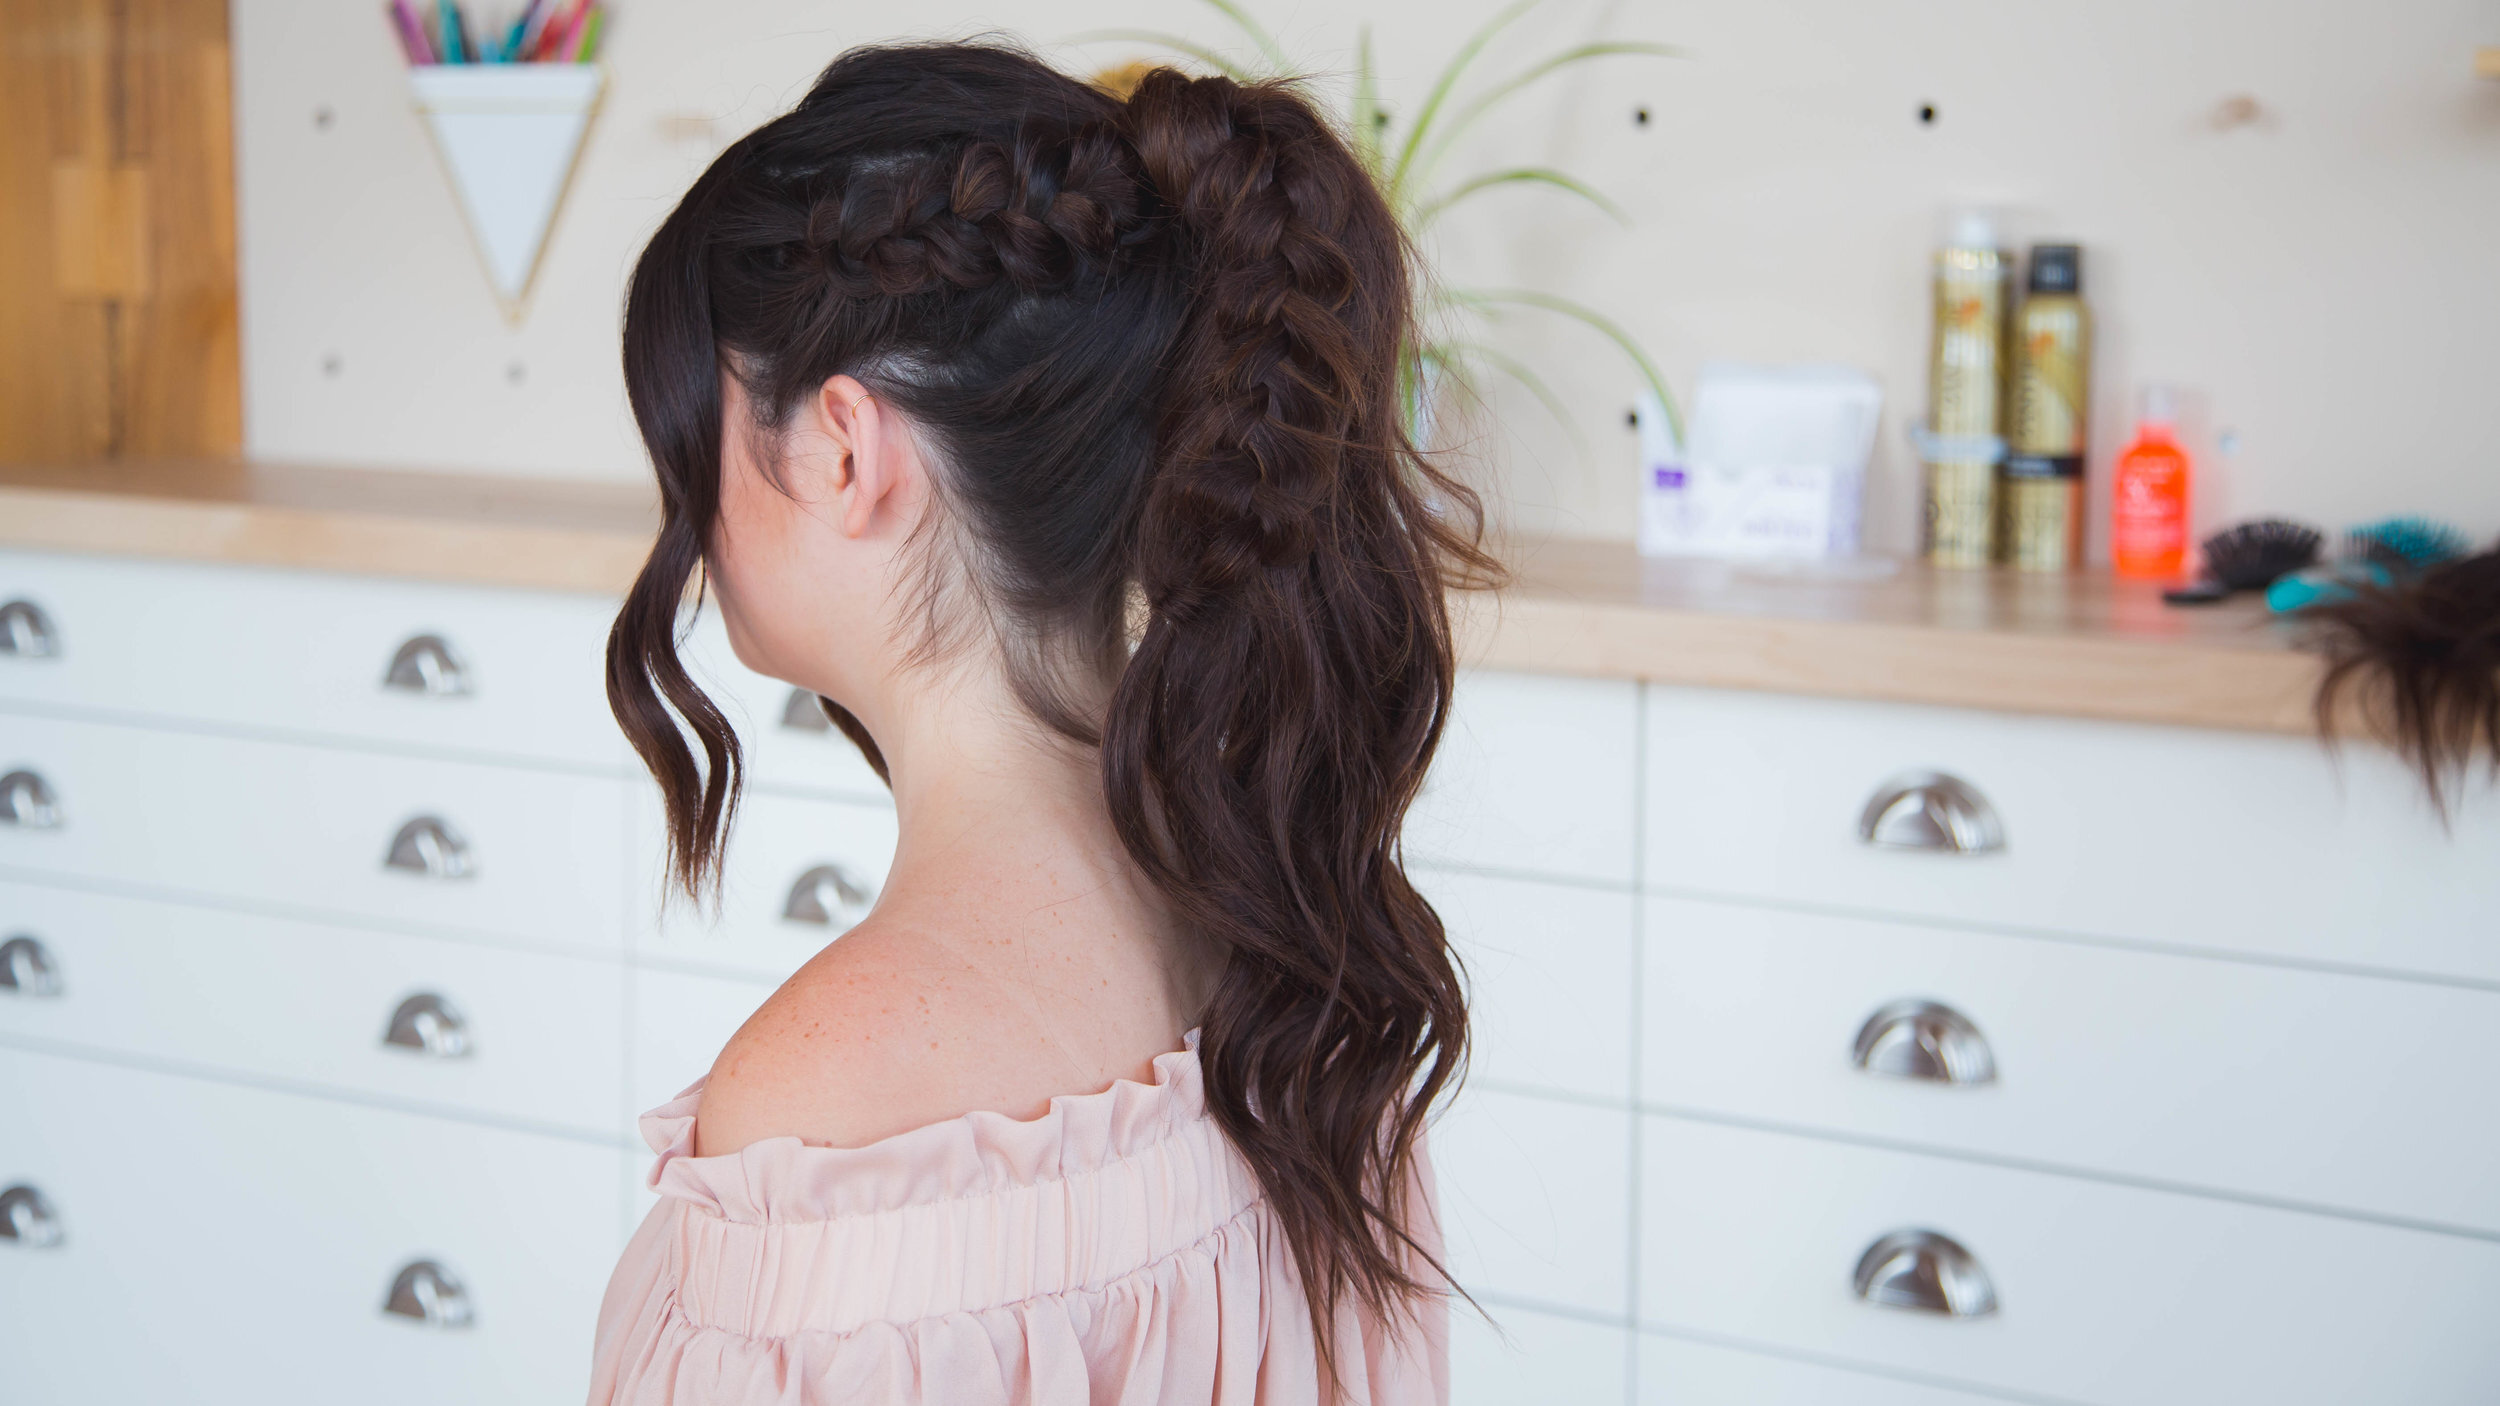
Niki’s Floral Headband:
Next, Niki showed us how to make this amazing floral headband that weaves into a braid. To make this floral headband, I’m using a mix of ribbon, rope, and faux flowers.
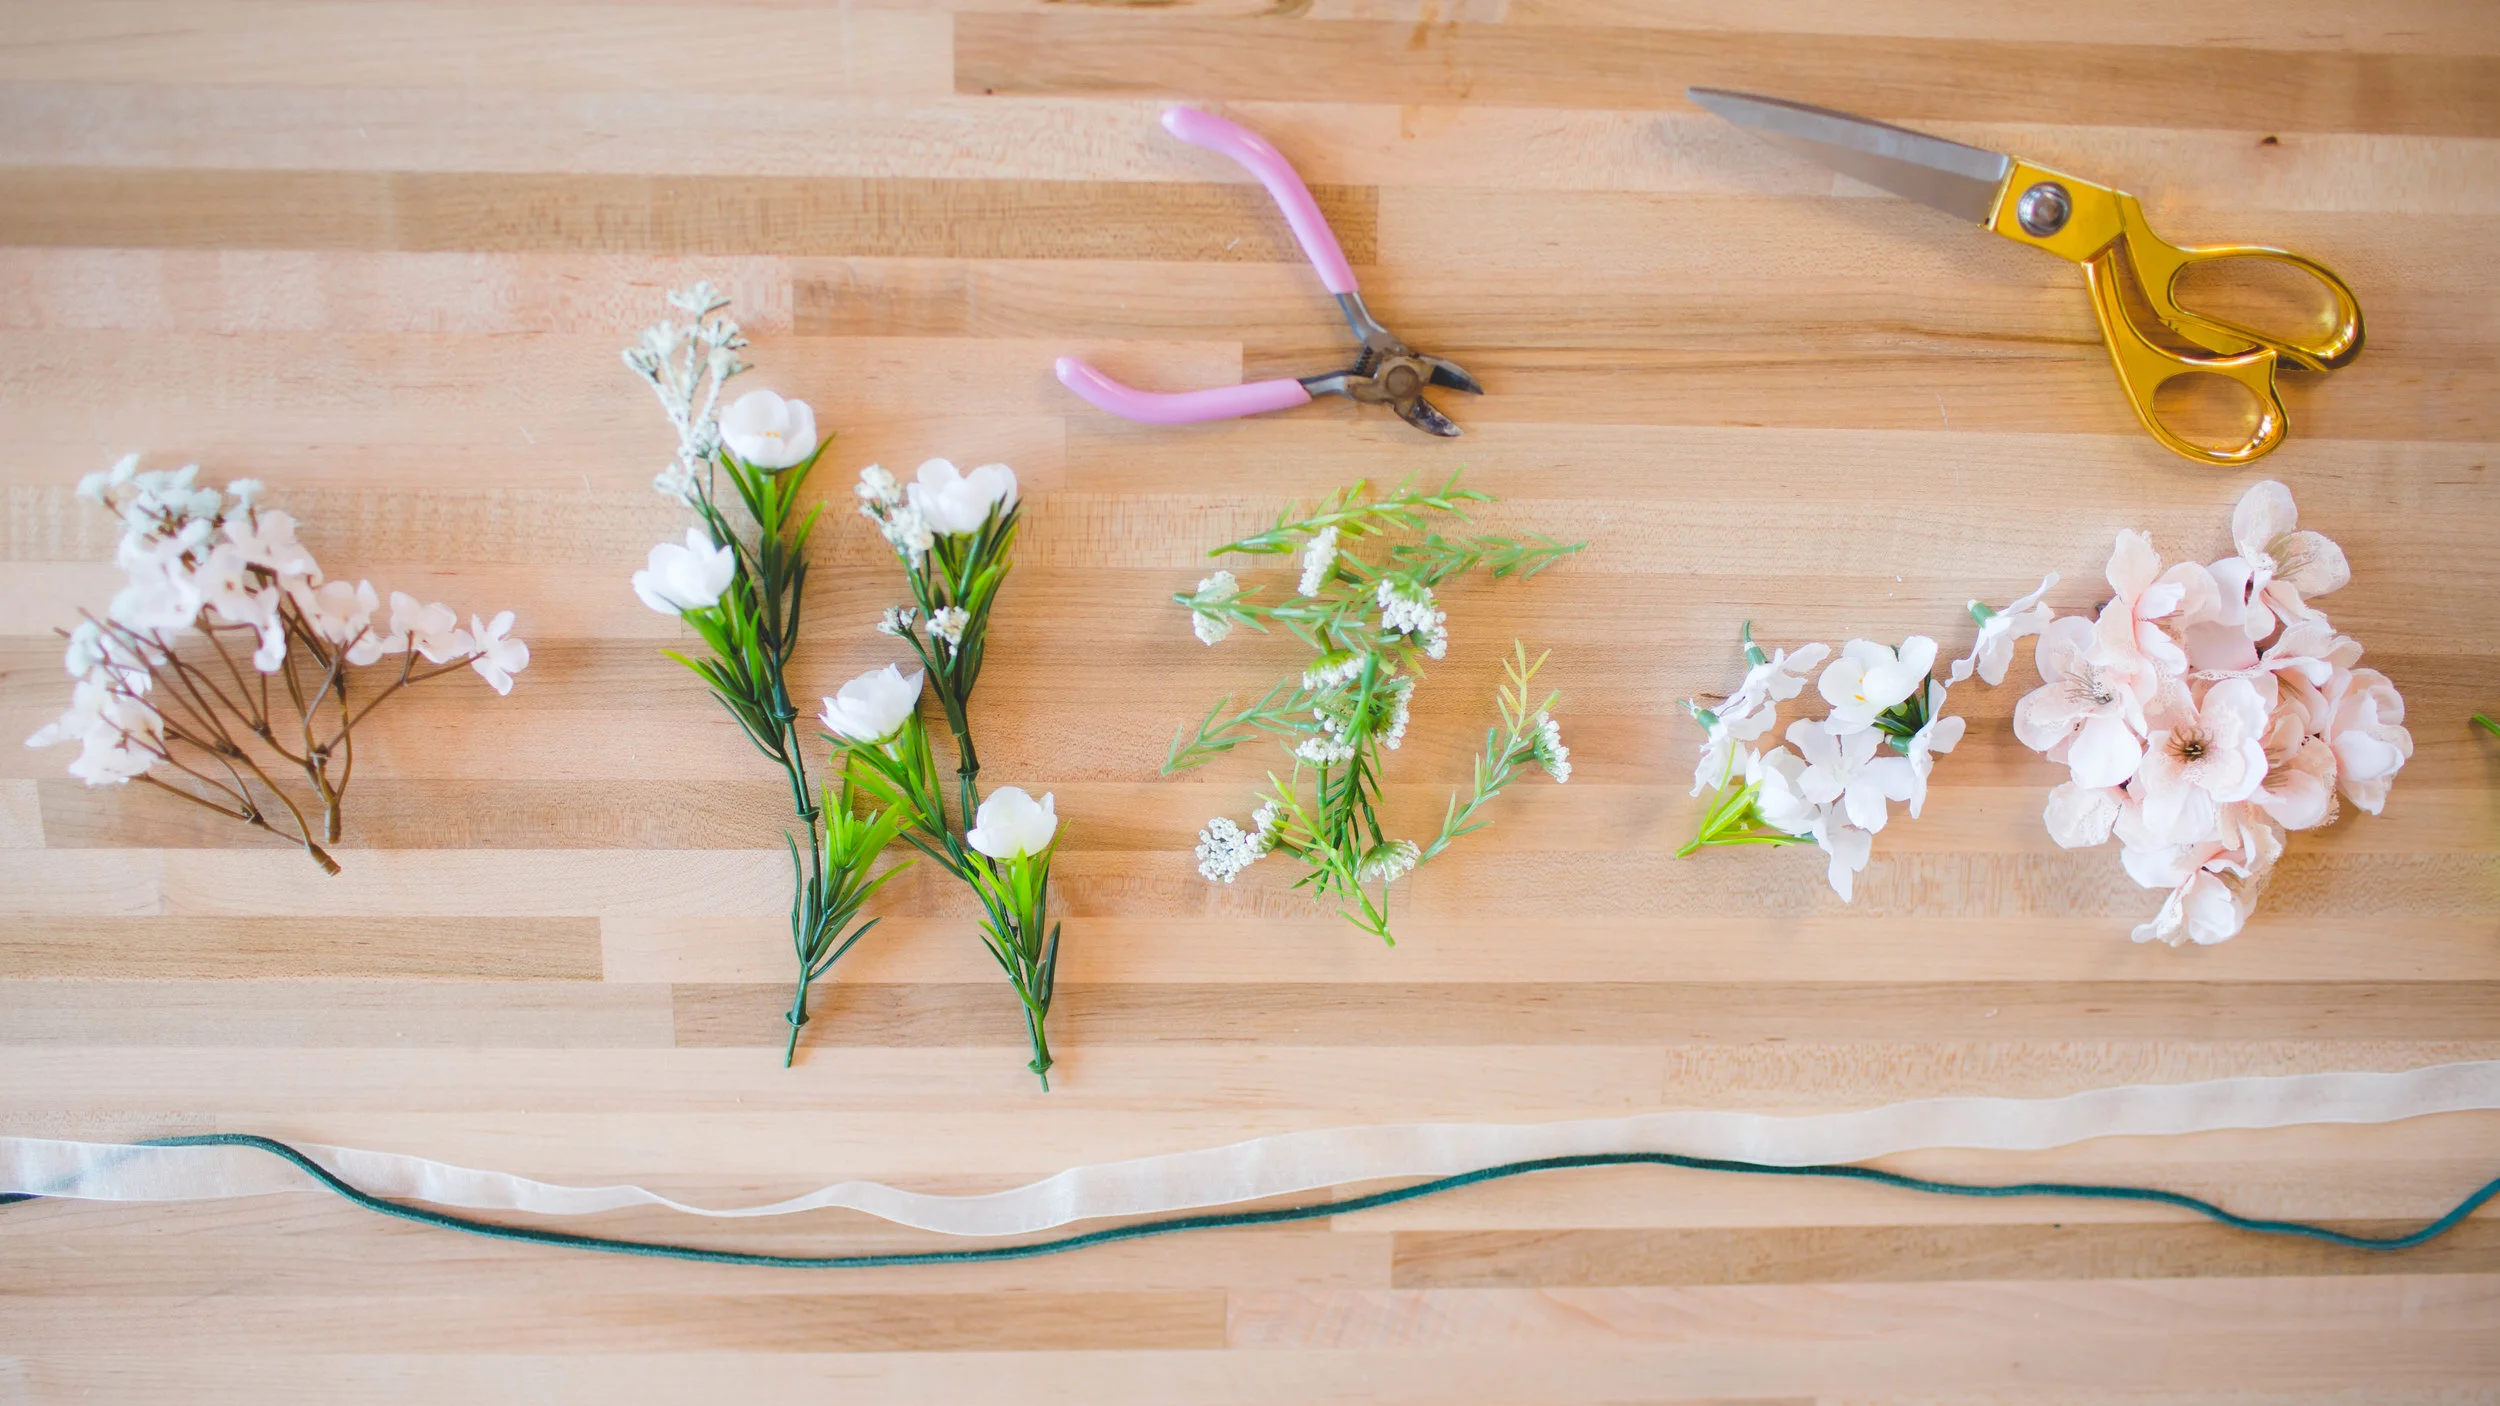
Make sure your ribbon pieces are long enough that you can wrap them around the top of your head, and the ends reach a few inches past the ends of your hair. Using a hot glue gun, attach the ribbon and the rope together at various points to keep them together. We also wrapped some darker rope a few inches from the ends and knotted it in place to give it that boho vibe. Now time for the flowers! Use a glue gun to glue the flowers in clusters along the ribbon. Make sure to concentrate the nicest and largest flowers in the centre since these are the ones that will be most visible. We also found that mixing larger and smaller flowers gave the headband a more realistic vibe. After you’ve glued your flowers, allow the glue to dry completely and then you’re ready to style!


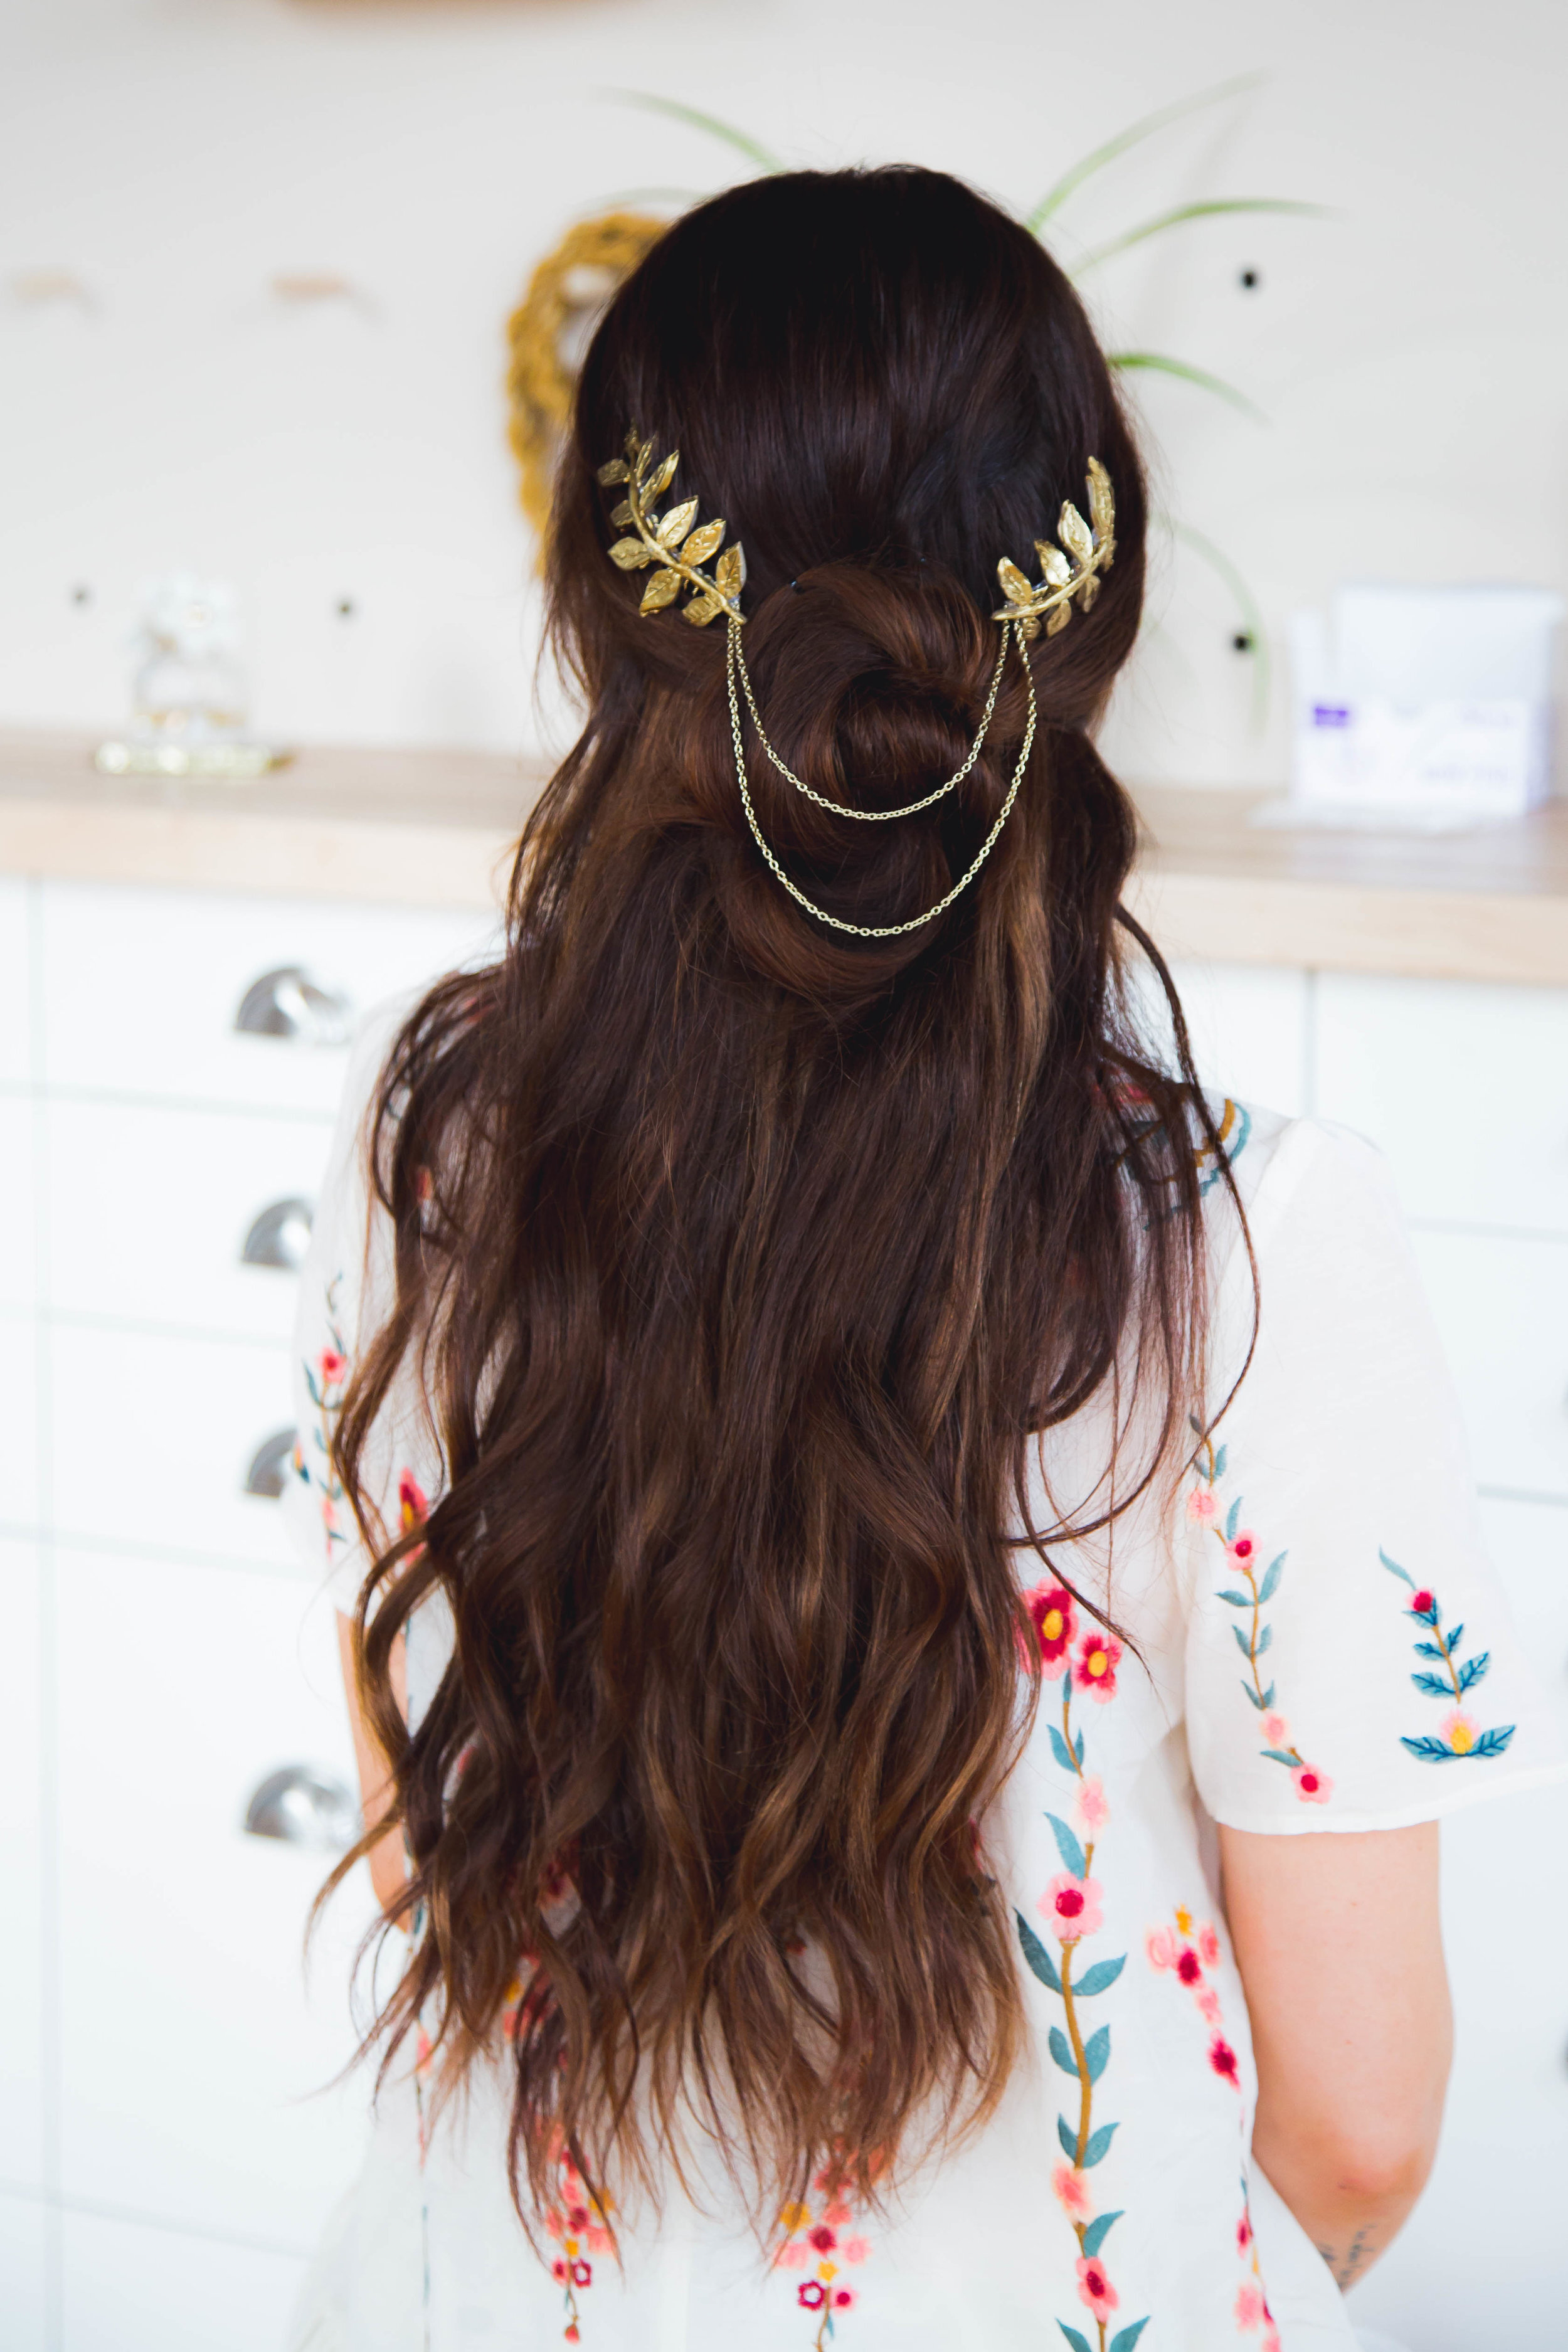
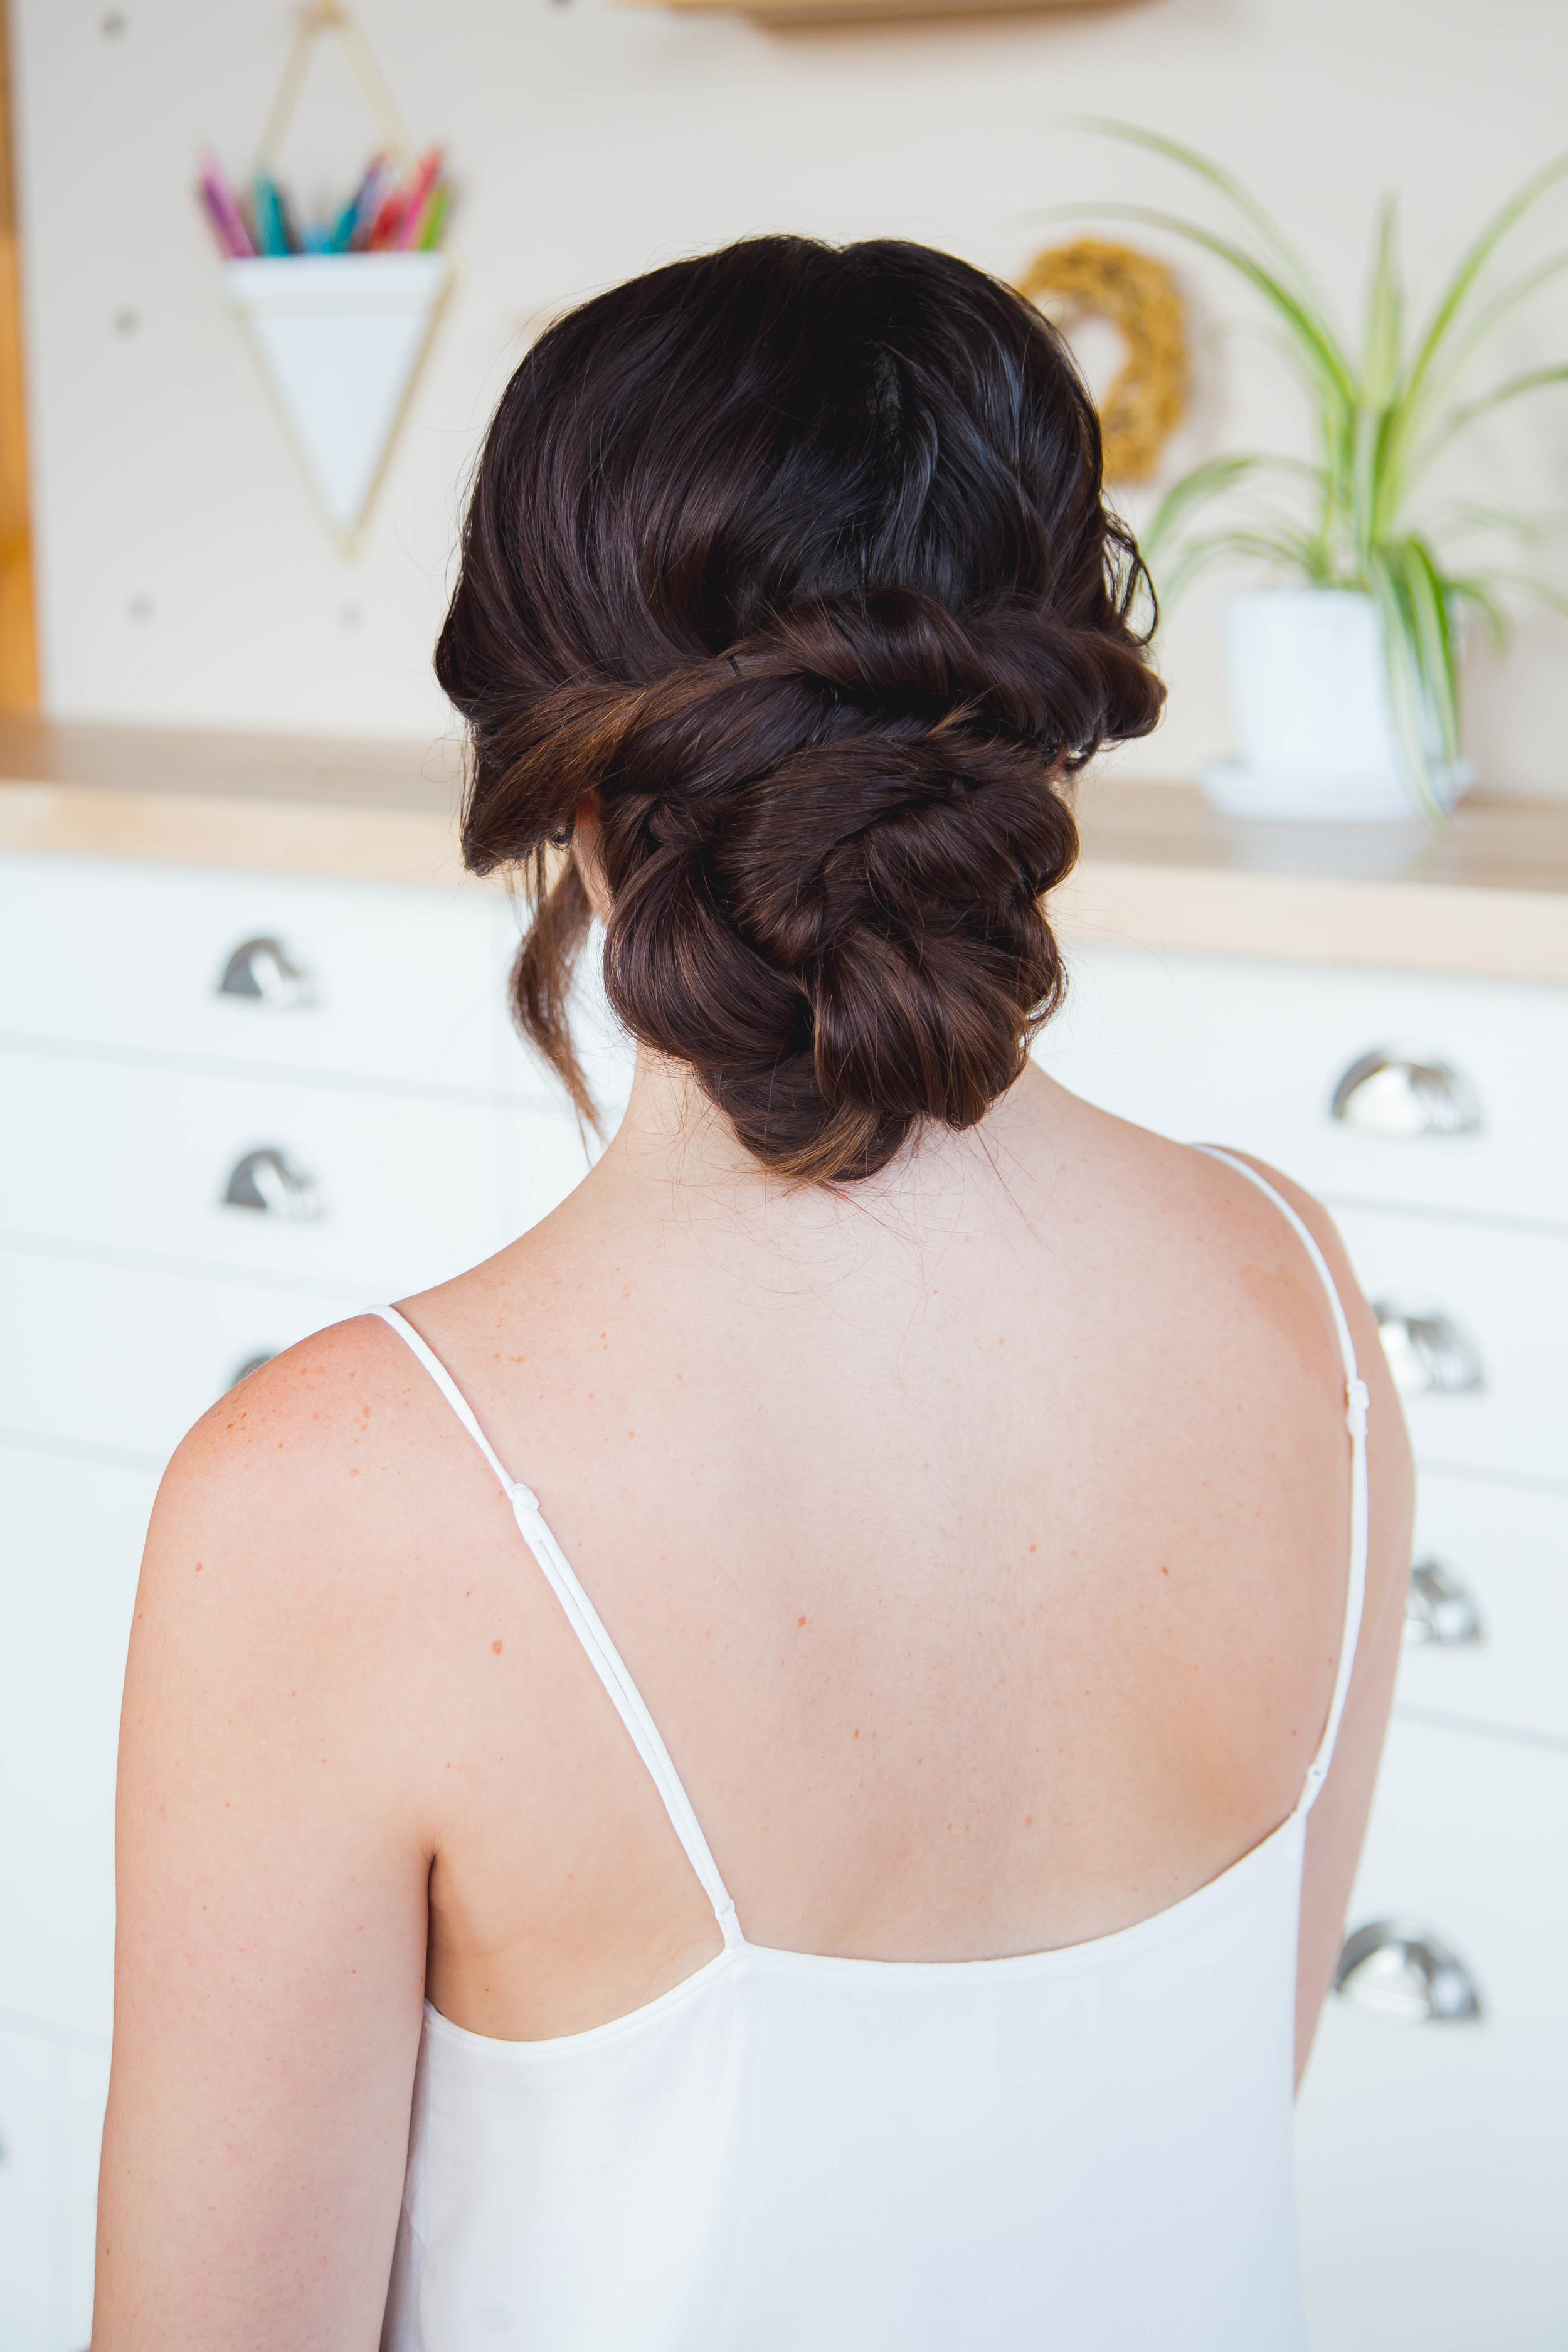
Becky’s Gold Floral Head Chain:
To make this Golden Grecian Inspired Head Chain, we’re starting with some polymer clay and two gold hair combs. Roll the polymer clay into two strips, each about as long as the hair combs. This will be the base of our floral vine. Next, flatten out a large smooth piece of clay and with an Exacto knife, carve out some leaves. Peel back the extra clay to separate the leaves. Repeat this to make as many leaves as you’d like. We did five leaves per side plus one on the top. Press the leaves into the clay stem. With the Exacto knife, we added some details to the leaves and stems. Since our combs had a slight curve to them, we moulded some rounded shapes out of tin foil for our clay vines to sit on. This makes sure your clay will sit nicely against the combs once it has hardened. Place the clay on a baking sheet and bake according to the directions on the package. Once the vines finished baking, we painted them with some gold paint. Once that’s dry, use hot glue to attach the vines to the combs. As the last step, cut two pieces of gold chain. We gave our chain enough slack to sit nicely around a hair bun. Hot glue the ends of the chain to the bottom of each hair comb. This floral head chain is super easy to style! Simply slide one hair comb onto one side of your head and then repeat on the other side!


And that’s it! Three super easy but beautiful ways to DIY your bridal hairstyles! Please be sure to check out Niki’s video here as well as our video below. As always, we love to see what you guys make! Share your photos with the hashtag #SorryGirlsSquad for a chance to be featured on our insta!